Connecting Mercury MCP
Learn how to get started and plug Mercury into your AI tool.
This guide walks you through connecting your AI tool to Mercury using the Model Context Protocol (MCP).
Log in to your AI tool
Mercury MCP is available anywhere you can use MCPs, but the easiest way to set this up:
- Open Add Connectors in Claude or Apps & Connectors in ChatGPT
- Create a new custom connection
-
Add Mercury as a new MCP and use the URL
https://mcp.mercury.com/mcpin the MCP server URL field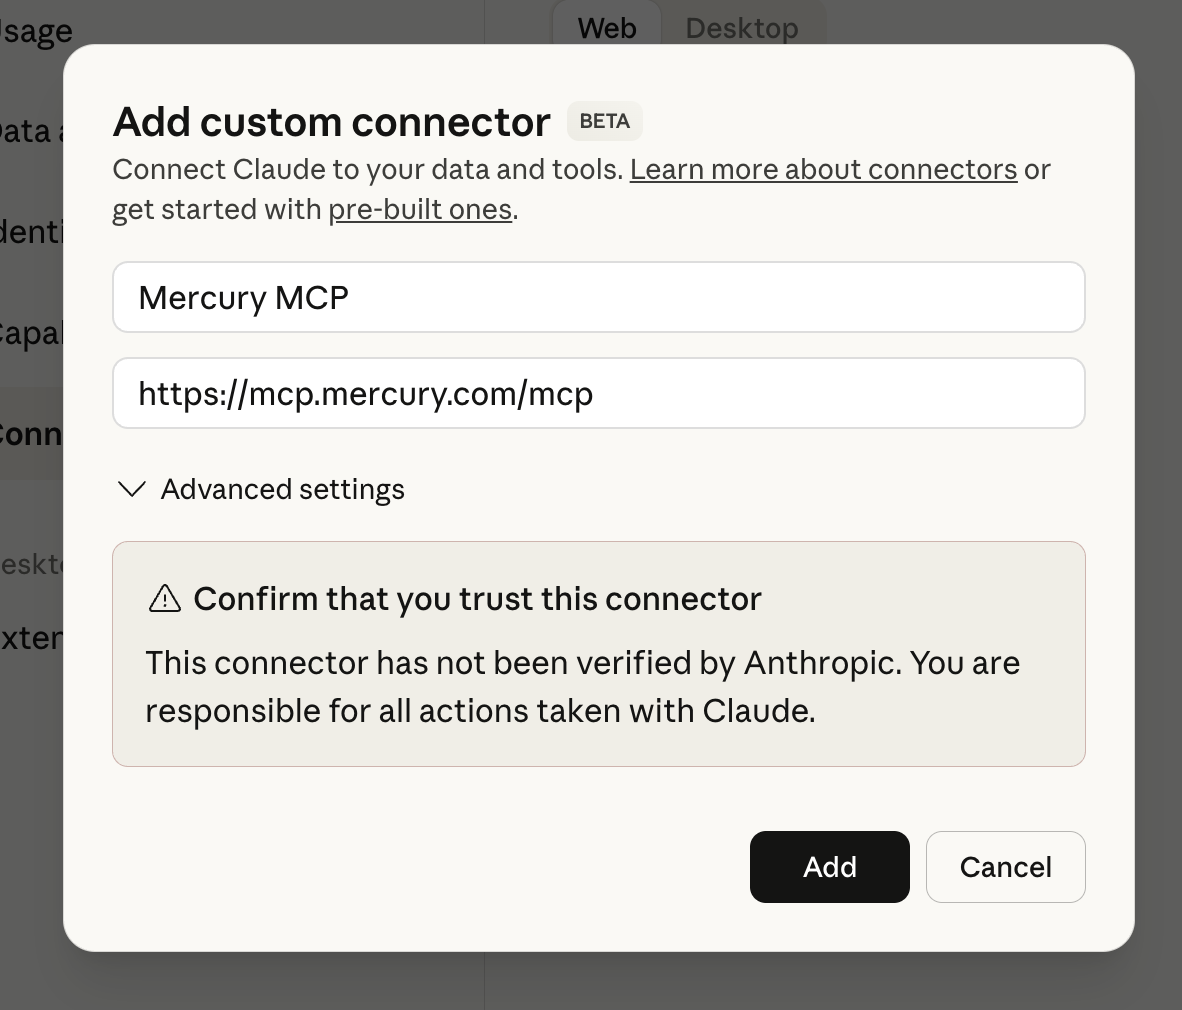
-
Adding this MCP does not give the LLM access to your Mercury data until you login (next step)
-
- Login to Mercury MCP
- After you start a chat asking about Mercury data, it should prompt you to login via OAuth
- Sessions will remain active for 3 days on the same chat thread. After that, you may need to authenticate again.
Dynamic Client Registration (DCR)
Mercury's hosted MCP server at https://mcp.mercury.com/mcp supports OAuth 2.0 Dynamic Client Registration (RFC 7591), so you can register your client without any manual setup on Mercury's side.
Register your client by sending a POST to https://mcp.mercury.com/register (client_name must not contain "Mercury").
{
  "redirect_uris": ["https://your-app.com/callback"],
  "client_name": "Your App Name" // client_name must not contain Mercury
}
You'll receive a client_id and client_secret to use in the OAuth authorization code flow. Once registered, use the https://mcp.mercury.com auth and token endpoints to obtain access tokens on behalf of your users.
Note: We will store your client as Mercury MCP for { Your App Name }
Notes
- Mercury's hosted MCP has been scoped to have read-only access to certain types of information to prevent unintended actions on your behalf. However, you are responsible for deciding if you should connect your Mercury data with a third party.
- Mercury does not offer a non-hosted MCP at this time.
Updated 13 days ago